;
;
Mastering camera settings is the fine line between capturing a random image and consciously creating a work of art. In the world of digital photography, modern cameras are equipped with highly advanced automated processing systems capable of making complex decisions in a fraction of a second. However, relying entirely on automatic modes strips the photographer of creative control and hands it over to the camera's software algorithms. A professional photographer knows that the camera's light meter always sees the world as "middle gray," and the autofocus system cannot guess the artistic intent hidden in the creator's mind. To achieve images of distinct quality, a deep understanding of how light, the lens, and the sensor interact is essential. This comprehensive report provides a precise, analytical, and practical examination of fundamental camera settings, illuminating the path from a simple user to a professional image creator.
The Exposure Triangle: The Physical and Artistic Foundation of an Image
The concept of the "Exposure Triangle" is the most fundamental principle in photography. This triangle consists of three main variables: aperture, shutter speed, and ISO. Each of these sides not only controls the amount of light reaching the sensor but also imparts unique visual and creative effects on the final image. A flawless exposure is the result of achieving a mathematical and artistic balance among these three factors. Changing one of these variables necessarily requires compensation in one or both of the other variables to maintain the desired brightness level. This dynamic interaction is the photographer's primary tool for translating a visual vision into a digital image.
Aperture and Depth of Field Control
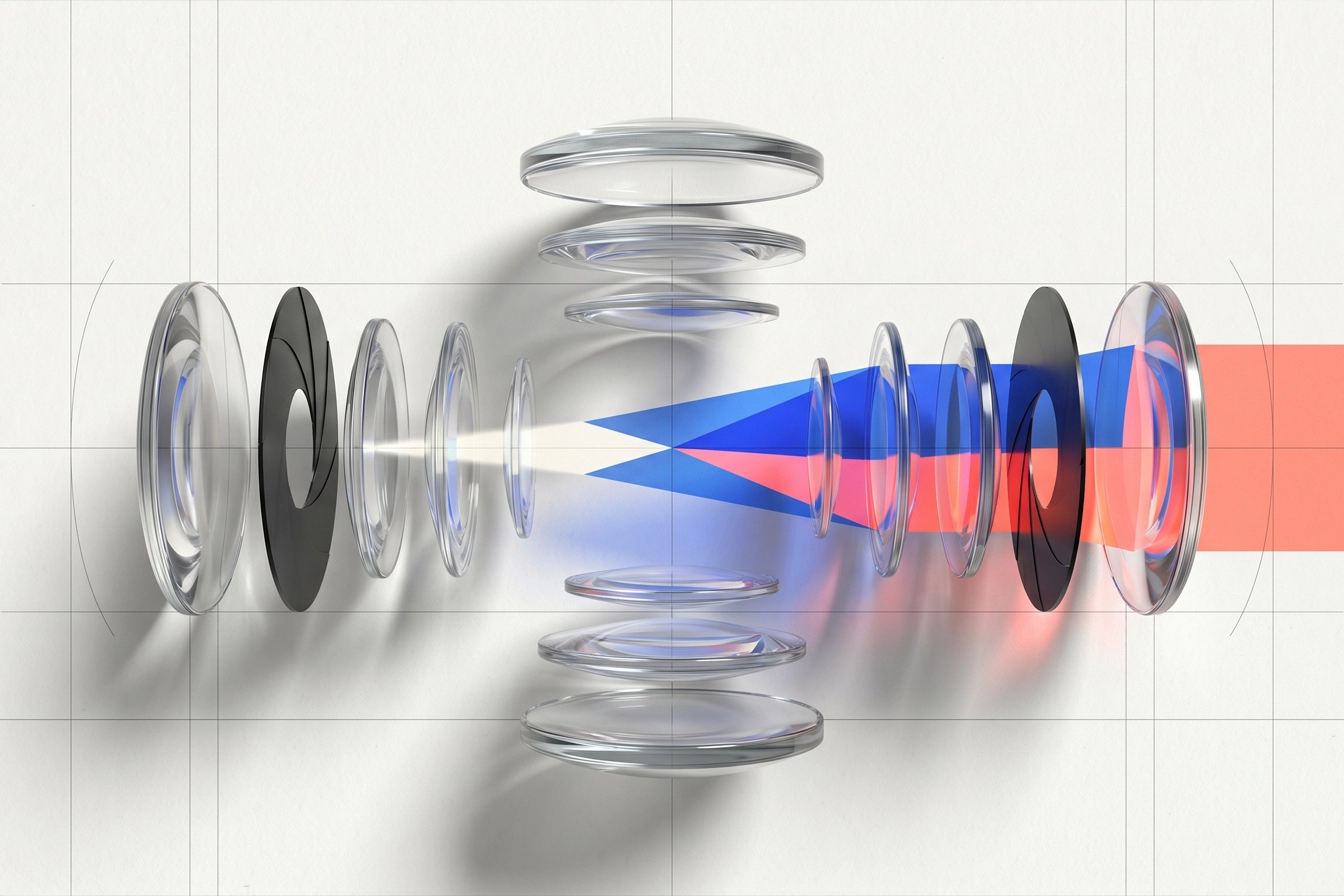
Aperture refers to an opening within the lens structure that controls the volume of light entering the camera, functioning quite similarly to the iris and pupil of the human eye. The size of this opening is denoted by fractional numbers called f-stops (such as f/1.4, f/8, f/22). The relationship between these numbers and the size of the opening is entirely inverse; meaning a smaller number (e.g., f/1.4 or f/1.8) indicates a much wider opening, and a larger number (e.g., f/16 or f/22) indicates a narrower opening. Opening the aperture by one full stop of light exactly doubles the volume of light entering the sensor.
Beyond the issue of light control, the aperture is the photographer's most powerful tool for controlling the "Depth of Field." Depth of field determines what range of the image's depth (from foreground to background) is in complete focus. Using wide apertures (such as f/1.8 to f/2.8) significantly reduces the depth of field, causing the background to blur (creating bokeh). This technique is highly effective in portrait photography for isolating the subject from busy backgrounds and directing the viewer's eye toward the subject's face or eyes. For example, 85mm lenses with an f/1.2 or f/1.4 aperture are considered the golden standard for portrait photography due to their creation of attractive facial proportions and unparalleled subject isolation.
Conversely, landscape, nature, and architectural photographers generally use narrower apertures (such as f/8 to f/11, known as the lens's Sweet Spot) so that all elements in the frame, from the closest flowers in the foreground to the farthest mountain peaks in the background, are captured in complete focus and perfect clarity. However, it should be noted that closing the aperture too much (such as f/22) can lead to the phenomenon of light diffraction and reduce the overall sharpness of the image.
Shutter Speed and Freezing Time
The shutter is a mechanical or electronic curtain located in front of the sensor, and shutter speed determines how long this curtain remains open to expose the sensor to light. This duration is usually measured in fractions of a second (like 1/200, 1/1000) and in full seconds for long exposures. From an aesthetic perspective, shutter speed dictates how motion is captured in the image, allowing the photographer to freeze time or portray its passage.
Fast shutter speeds (like 1/1000 or 1/2000 of a second) are essential for completely freezing fast movements in sports, wildlife, or bird-in-flight photography. Capturing water droplets in mid-air or stopping a runner's motion is only possible with high shutter speeds. In contrast, using a slow shutter speed (like 1 to 30 seconds) captures motion blur. This technique is used to create images with silky waterfalls, star trails, moving clouds in the sky, or light trails from cars on dark streets, and it requires using a tripod to prevent overall camera shake.
A very important rule of thumb called the "Reciprocal Rule" indicates that for handheld photography and to prevent image blurring caused by natural body tremors, the shutter speed should not be less than the reciprocal of the lens's focal length. For example, when using a 200mm lens, the minimum handheld shutter speed should be 1/200 of a second or faster.
ISO and Sensor Sensitivity
The final variable in the exposure triangle is ISO, or the digital sensor's level of sensitivity to light. In the era of analog photography, ISO (or ASA) referred to the chemical sensitivity of raw film, but in digital cameras, this variable relates to the degree of amplification of light signals by the sensor's processor. Low ISO values (like 100 or 200) are designed for environments with abundant light (like daylight or studio photography with a flash) and deliver images with the highest quality, richest colors, and the least amount of noise.
As ambient light decreases in indoor spaces or during night photography, photographers are forced to increase the ISO value (like 1600, 3200, or higher) so the sensor can simulate a proper exposure while receiving less light. Increasing the ISO always comes with a technical cost: the introduction of digital noise (or grain), which appears as irregular colored spots in the image and degrades sharpness, contrast, and texture details. However, tremendous advancements in the design of modern mirrorless sensors have allowed photographers to use extremely high ISOs (like 6400 or 12800) with minimal quality loss, completely changing their approach to lighting at events and in wildlife photography. Professional logic dictates that ISO should always be kept at the lowest possible level and only increased when the photographer cannot open the aperture wider (due to the need for depth of field) or lower the shutter speed (due to the need to freeze motion or avoid hand shake).
| Key Parameter | Control Mechanism | Creative and Side Effects | Common Values and Applications |
|---|---|---|---|
| Aperture | Adjusting the diameter of the lens opening | Controlling depth of field (blur or sharpness of the environment) | f/1.4 to f/2.8 (portrait and dark environment) / f/8 to f/11 (landscape) |
| Shutter Speed | Exposure time to the sensor | Freezing motion vs. motion blur | 1/1000 (sports and wildlife) / 1/60 (portrait) / 5 seconds (night photography) |
| ISO | Sensor sensitivity to light | Producing digital noise and reducing dynamic range | 100 to 200 (daylight and studio) / 3200 to 6400 (concert and night) |
Shooting Modes: Smart Management of Variables
Although mastering the exposure triangle is essential, manually controlling all three variables in all situations is not only inefficient but can also lead to missing crucial moments. Digital cameras offer semi-automatic modes that, by combining the photographer's art and the camera's algorithmic intelligence, guarantee the best result in the shortest possible time.
Aperture Priority mode, generally indicated by the symbol A or Av on the camera dial, is the most popular mode among professional photographers. In this mode, the photographer sets the aperture value and ISO based on the required depth of field, and the camera continuously and automatically calculates the appropriate shutter speed to maintain proper exposure. This mode is highly efficient for conditions where ambient light changes rapidly (like a subject moving from shade to direct sunlight), as the photographer can focus solely on framing and background control without worrying about adjusting the shutter.
In contrast, Shutter Priority mode, indicated by the symbol S or Tv, is vital when the manner of capturing motion is the absolute priority. Sports and wildlife photographers who require fast speeds above 1/1000 of a second to freeze the subject lock the shutter and allow the camera to change the aperture. However, the limitation of this mode is that if the ambient light drops significantly, the lens cannot open wider than its maximum limit (e.g., f/4), and the image will suffer from underexposure.
Full Manual mode (M) provides unconditional control over all three variables (shutter, aperture, and ISO). This mode is considered the only professional choice in situations where the ambient light is completely constant (like studio photography with a flash), in astrophotography, or when the photographer wants to make an artistic decision contrary to the camera's light meter suggestion (like intentionally creating silhouette photos). Combining manual mode with Auto ISO is a modern approach that allows the photographer to lock the shutter and aperture for motion and depth of field, entrusting the task of exposure compensation to automatic ISO adjustments.
The Evolution of Autofocus: The Back-Button Focus Technique
Achieving the sharpest possible image requires precise control over autofocus systems. Cameras alter their focusing behavior based on the subject's movement. One Shot focus (AF-S or One Shot) is used for completely stationary subjects; where the camera locks onto the subject upon half-pressing the shutter and waits to take the photo. Conversely, continuous focus (AF-C or AI Servo) is designed for moving subjects, and as long as the photographer holds the button, the system continuously calculates the subject's distance and corrects the focus.
However, in the default factory setting, the shutter button simultaneously bears the dual and troublesome task of "focusing" and "taking the photo." This entanglement can be highly annoying in dynamic environments. For example, if a subject temporarily stops and the photographer wants to recompose the frame, pressing the shutter again causes the camera to attempt to refocus on a new point in the center of the frame, blurring the main subject.
To solve this challenge, a revolutionary technique called Back-Button Focus has been invented by professional photographers. In this technique, the task of activating the focus motor is removed from the shutter button and exclusively assigned to a button on the back of the camera (usually the AF-ON or AE-L/AF-L button). The shutter button from then on will only be responsible for releasing the shutter curtain and capturing the photo.
This mechanical separation creates a tremendous strategic and ergonomic advantage: the photographer can permanently leave their camera in continuous focus (AF-C) mode. When photographing a moving subject (like a bird in flight), the photographer holds the back button with their thumb to track the subject relentlessly. As soon as the bird lands on a branch and remains still, the photographer simply removes their thumb from the back button. The focus locks precisely on that exact point and stops, effectively perfectly simulating the AF-S mode. In this state, the photographer can freely recompose and take an infinite number of photos without worrying about the camera trying to refocus on the background. This technique drastically increases operational speed and consigns the need for constantly changing focus modes to history.
Metering Modes: How the Camera Sees the World
In-camera metering systems are responsible for evaluating the light reflected from the environment and suggesting the appropriate settings. A vital principle in photography is that the camera's light meter sensor lacks a conceptual understanding of subjects and is calibrated to convert all surfaces in the world into a "middle gray" (a gray color with approximately 18% reflectance). This engineering feature can severely deceive the camera in complex lighting conditions; for example, photographing a completely white owl in the snow causes the camera to darken the image (make it gray) to prevent absolute whiteness, and conversely, a photo of a completely black subject is recorded brighter than reality.
To overcome these limitations, cameras offer several distinct metering modes.
Matrix / Evaluative Metering is the default and most intelligent metering system. The camera divides the entire frame into hundreds of separate zones and, through a complex analysis of color, scene contrast, and a special focus on the point where the focus lies, calculates a safe and average exposure. This mode is ideal for most everyday scenarios and landscape photography with relatively even lighting.
Center-Weighted Metering is a classic system that assigns about 60 to 80 percent of the metering importance to a circular area in the center of the frame and considers the peripheral areas far less. This mode works very accurately when the main subject is prominently located in the center (such as a half-body portrait or a lone tree in a plain).
Spot Metering is the most precise and sensitive metering mode; it only measures an area between 1 to 5 percent of the total frame (usually corresponding to the active focus point) and completely ignores the rest of the scene. Professional photographers use this mode for high-contrast situations. For example, in theater photography where an actor is illuminated by a spotlight and the hall is completely dark, spot metering on the actor's face ensures their face is correctly exposed, even if the rest of the image plunges into absolute blackness. Similarly, in wildlife photography, accurately measuring light from the bright feathers of a bird amidst dark tree branches is done using this system. This method forms the basis of the advanced "Zone System" technique, where the photographer consciously measures specific tonalities of the image.
White Balance and the Art of Color Temperature
Different light sources in the real world emit different colors that the human eye and brain, due to high adaptability, are unable to separate, thus seeing a white paper as white under any condition. This inherent difference in light sources is expressed by the physical concept of "color temperature," which is measured in degrees Kelvin (K). The light from a candle flame or incandescent tungsten bulbs has a low temperature (around 1500 to 3200 Kelvin) and produces a warm color tending towards yellow or orange. In contrast, midday sunlight has a balanced temperature around 5500 Kelvin, and the light from a cloudy sky or shaded environments has a very high temperature (above 7000 Kelvin), creating a sharply cold shadow tending towards blue.
As a raw light receiver, the camera sensor lacks this cognitive capability and requires a software adjustment called White Balance to neutralize color casts and bring colors closer to reality. White balance works by adding compensatory amounts of blue color to neutralize it if the camera receives very warm light, and by injecting yellow color to balance the image if you shoot in cold shadows.
Using Auto White Balance (AWB) is highly effective in most standard lighting conditions, but the camera is heavily prone to errors in environments with mixed lighting sources (e.g., a room with window light and a halogen lamp) or when a vast portion of the frame is covered by a specific color (like a completely red wall). In these situations, using the camera's internal presets (like Daylight for daylight, Shade for shadows, Tungsten for warm indoor environments) is a safer approach. The most professional method is using a Gray Card and manually setting the Kelvin degree (Custom WB) on location.
Beyond its corrective aspect, white balance is a powerful artistic tool. A landscape photographer might intentionally set the white balance to a higher Kelvin degree to make sunset colors appear warmer and more dramatic, or by making colors colder, add a sense of mystery to a foggy landscape.
| Lighting Conditions | Approximate Light Source Temperature (Kelvin) | Inherent Tonality | Suggested Camera Setting (and its effect) |
|---|---|---|---|
| Incandescent bulbs/candle | 1500 to 3200 Kelvin | Very warm (intense orange) | Tungsten (injecting blue color for neutralization) |
| Direct sunlight | 5200 to 5600 Kelvin | Neutral and natural | Daylight (preserving primary colors without major changes) |
| Cloudy weather | 6000 Kelvin | Slightly cold (tending towards mild blue) | Cloudy (mild injection of yellow/orange color) |
| Open shadows / blue sky | 7000 to 8000 Kelvin | Very cold (noticeable blue) | Shade (intense injection of warm color to correct shadows) |
Histogram: The Undeniable Compass of Exposure
One of the most common and destructive errors made by amateur and even semi-professional photographers is judging image exposure quality solely by viewing it on the camera's screen (LCD). The intensity of the ambient light surrounding the photographer (such as shooting under bright sunlight versus the darkness of night) as well as the brightness of the screen itself can heavily deceive visual perception, making a dark photo appear bright or vice versa. The only scientific, mathematical, and flawless guide for evaluating exposure is using the "Histogram" analytical tool.
A histogram is a graphical chart that accurately displays the distribution of all pixels recorded in an image based on their brightness level. In this chart, the horizontal axis represents the brightness spectrum; from completely black and unlit pixels with a value of zero on the far left, to completely white and saturated pixels with a value of 255 on the right. The vertical axis represents the volume or frequency of pixels at each of those brightness levels. The chart is broadly divided into three sections: Shadows on the left, Midtones in the center, and Highlights on the right.
A deep analysis of this chart shows that when the peaks of the graph hit the vertical walls on the right or left, it indicates a destructive phenomenon called "Clipping" of information. If the mass of the graph is compressed against the right wall (Highlight Clipping), it means portions of the image have become completely white or "blown out," and no color data or details have been recorded in them. This information is lost forever and cannot be recovered even in the most advanced image processing software like Photoshop, and upon applying changes, they merely turn into dull gray areas. Professional photographers, by continuously monitoring the histogram in Live View mode, alter settings like shutter speed, aperture, or ISO (or by using Exposure Compensation) in such a way that the graph stays within the safe range between the two walls. In landscapes with high dynamic range (HDR) where the contrast between a bright sky and a dark foreground is severe, using graduated neutral density (GND) filters or the technique of combining bracketed images is mandatory to preserve the health of the histogram.
Choosing Storage Format and Image Quality
The final and simultaneously most crucial setting in the camera menu is choosing the software platform and storage format for the recorded data. The default format for most cameras is JPEG; a compressed format where the camera's processor, immediately after capturing the light, applies decisions regarding contrast, color saturation, sharpness, and white balance to the photo, and then permanently discards a vast volume of light data and hidden shadows to compress and reduce the file size.
Photographers seeking true mastery over the final output and the highest possible quality choose the RAW format as the only logical option. RAW files store up to 260,000 times more light and color information than 8-bit JPEG files, upgrading the recorded color gamut from millions of colors to billions and trillions of colors. This massive volume of uncompressed data provides the vital ability to make decisions such as completely altering the white balance, recovering deep shadow details, precisely controlling highlights, and reducing noise, without quality loss and in a completely non-destructive manner in software like Adobe Lightroom during post-production.
Along with activating the RAW format, changing the camera's default Color Space from sRGB to Adobe RGB is also a professional recommendation. The sRGB color space is designed for displaying images on web pages, whereas Adobe RGB contains an average of 30 percent wider and richer color gamut. This results in the recording of more vivid and realistic colors, providing a vastly more powerful platform for professional printing processes and precise editing.
Conclusion
Becoming a capable and masterful image creator requires transitioning from blind trust in the engineered automation within the camera to the conscious and strategic control of the tools. Understanding the physics of the exposure triangle as a canvas, intelligently applying techniques like back-button focus to react quickly to environmental dynamics, and relying on the mathematical logic of the histogram instead of fallible visual judgments form the foundations of a professional workflow. This fundamental knowledge provides the photographer with unparalleled freedom of action for the visual expression of emotions and storytelling, ensuring that every press of the shutter button is not a lucky accident, but the precise manifestation of a creative vision.